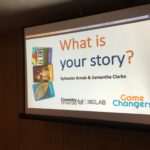
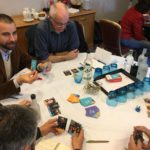
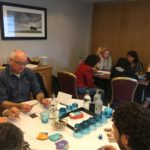
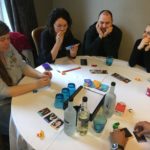
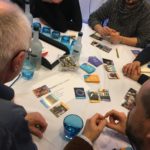
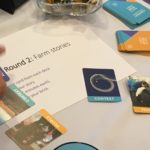
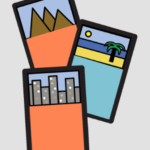
‘What Is Your Story?’ can be used with a range of audiences, across levels and disciplines, and can be made topic specific either by structuring workshop delivery around given topics, and/or adapting the design of the cards with new images. ‘What Is Your Story?’ has three card elements: People, Context and Activity. The aim of the game is for players to create a narrative around a given topic using the People, Context and Activity cards, and to share their story with other players. The activity encourages learners to employ a complex combination of skills to link disconnected images to a theme, to create an abstract concept. ‘What Is Your Story?’ encourages learners to share their ideas and develop confidence in doing so, and requires peer review of ideas shared.
The method follows the steps:
Step One: Decide if your cards are going to be learning context specific
Are you going to use your cards in a specific class or workshop? Do you want the players to create narratives around specific themes?
If yes, then you might want to consider whether the images on the cards are visual cues specific to a given theme or discipline, or whether the cards can be more generalised cues. When choosing what images you want as cues on the cards, you can make them as broad as possible, to allow the cards to be used in multiple scenarios or with any theme (see original version). Or, you can make the images relate to an area of interest or a particular learning context (design your own!).
Think of who you want to use the cards, what ideas and narratives do you want them to think about during the game, and what kinds of images might be most appropriate to the learning context. If you would like to use the original version of ‘What Is Your Story?’ you can download and print it yourself, or alternatively contact the DMLL to see if we have a printed pack available. If you would like to design your own, see Step Two and Three.
Step Two: Select images for the cards
Now that you have decided what kinds of images you want to use, you can go about collecting your images to be used as visual cues for the three categories. To do this you can either make your own images or find existing images that are held in the public domain.
If you want to make your own images, you can draw images, take your own photos or use any other means, so long as the resulting images are 300 dpi and can be visually interpreted by the learners/audience you have in mind.
If you want to use existing images you will need to find public domain images, or images that you have the appropriate permission to use. To find images held in the public domain, use a searchable image hosting site for images held under the appropriate license.
This step is time intensive. It can take a surprisingly long time to collect enough good quality images to make a deck of cards. Make sure you give yourself enough time to find and curate the images you want to use for each story element: People, Activity and Context.
Step three: Designing your own cards!
To help with this stage, this toolkit includes design templates to design you cards. Before you get started consider:
- How and where are you printing your cards?
- What size will the cards be? (e.g. poker card sized, postcard sized, A4)
- What is the necessary file setup needed by your print supplier?
- Are there any necessary branding or aesthetic requirements you need to follow?
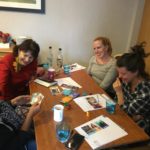
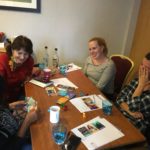
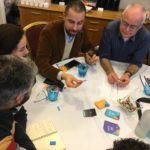
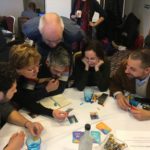
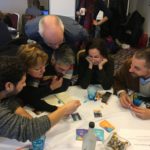
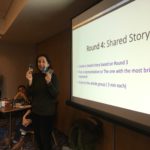
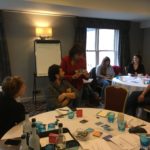
This method was used during the retreat with board members on 6th February 2019 in Coventry Below are some pictures of the event.

